Household leaks can be a homeowner's nightmare, especially when they originate from the appliances we rely on for daily tasks. From refrigerators and dishwashers to washing machines and hot water heaters, leaks can lead to substantial water damage, increased utility bills, and heightened inconvenience. As a responsible resident, understanding how to identify, address, and prevent leaks in your appliances is vital. This comprehensive guide aims to walk you through the process of dealing with leaks in various appliances, providing repair and maintenance tips to help you manage any issues effectively.
Understanding Appliance Leaks
The Importance of Addressing Leaks
Before diving into specific appliances, let’s discuss why it is essential to address leaks promptly. Ignoring leaks can lead to:
Water Damage: Prolonged leaks can damage flooring, cabinets, walls, and other structural components of your home, leading to costly repairs.
Mold and Mildew Growth: Moisture accumulation creates an ideal environment for mold and mildew, which can pose health risks and further damage your home.
Increased Utility Bills: Even small leaks can result in higher water bills over time, significantly impacting your monthly expenses.
Appliance Damage: Constant moisture can lead to rust and deterioration of appliance components, potentially leading to more significant failures down the line.
As a conscientious resident, understanding how to detect, repair, and maintain your appliances can help prevent minor issues from escalating into major problems.
Common Appliances That Leak
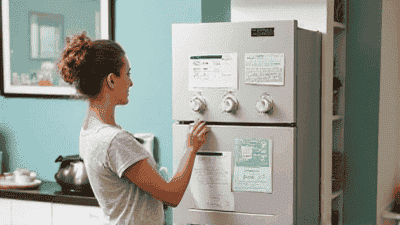
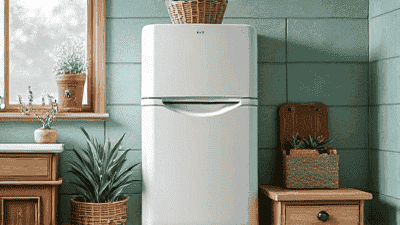
1. Refrigerators
Refrigerators are essential appliances, and leaks can occur for various reasons:
- Water Line Leaks: Usually found in refrigerators with ice makers or water dispensers.
- Defrost Drain Clogs: Accumulation of ice or debris can cause water to pool inside the fridge.
- Damaged Door Seals: Worn-out door gaskets can lead to condensation and moisture buildup.
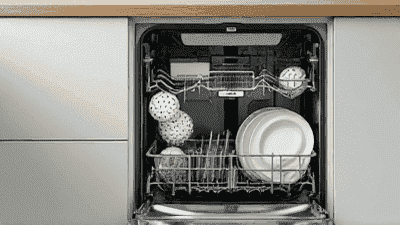
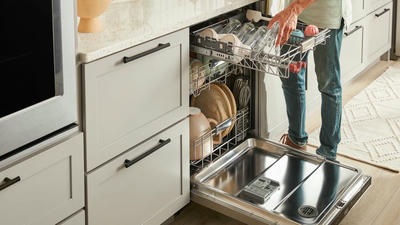
2. Dishwashers
Dishwashers may leak from:
- Door Seals: Worn or damaged door gaskets can allow water to escape during a wash cycle.
- Clogged Drain: Blockages in the drain can cause excess water to back up and leak out.
- Loose Hose Connections: Improperly connected hoses can lead to water escaping.
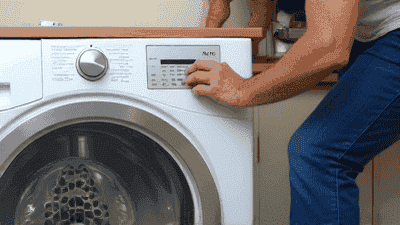
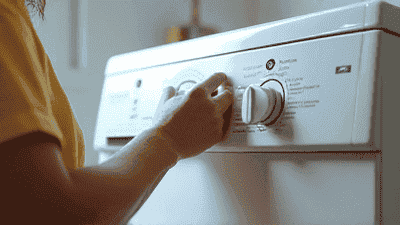
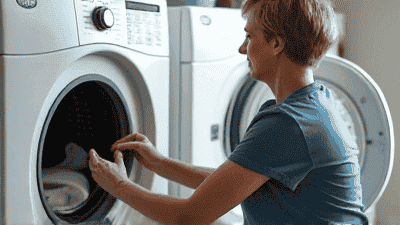
3. Washing Machines
Washing machines may leak due to:
- Hoses: Cracked or loose inlet and drain hoses can lead to water leaks during filling or draining cycles.
- Seal Failure: Drum seals that wear out can cause leaks during spin cycles.
- Overloading: Excessive loads may lead to imbalance and water spilling out of the machine.
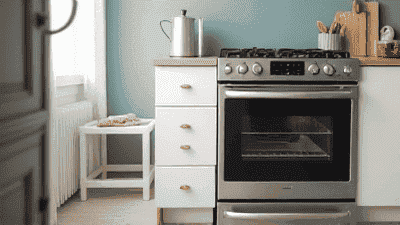
4. Hot Water Heaters
Hot water heaters can develop leaks from:
- Tank Corrosion: Over time, the tank can corrode, leading to leaks.
- Loose Connections: Inlet and outlet pipes may loosen or corrode, resulting in water escapes.
- Pressure Relief Valve Issues: A malfunctioning valve may leak if pressure builds up within the tank.
Step-by-Step Repair Process for Leaks
When dealing with leaks, it is essential to act quickly. Here are step-by-step guides for addressing leaks in common appliances.
A. Addressing Refrigerator Leaks
Step 1: Identify the Source
- Inspect for signs of moisture around the base of the refrigerator and puddles on the floor.
- Check the water line connections and the area underneath the appliance.
Step 2: Check the Door Seal
- Inspect the door gasket for wear or tears. Clean the seal to remove any debris that may prevent a tight seal.
- If damaged, consider replacing the door gasket, which can usually be done without professional help.
Step 3: Inspect the Defrost Drain
- Locate the defrost drain, typically found at the back or bottom of the refrigerator.
- Clear any blocks using warm water, or a small brush. If you find frozen ice, use a hairdryer to melt it safely.
Step 4: Examine the Water Line
- If your refrigerator has ice-making capabilities, check the water line for leaks.
- Tighten any loose connections or replace damaged sections of the hose.
Step 5: Monitor for Recurrence
- After making repairs, monitor the refrigerator for any signs of continued leaks. If problems persist, consult the user manual or call a professional.
B. Repairing Dishwasher Leaks
Step 1: Inspect the Door Seal
- Look for food particles or debris that may be obstructing the door seal.
- Clean the gasket thoroughly and inspect it for wear or damage. Replace if necessary.
Step 2: Check Hose Connections
- Inspect the water supply line and drain hose for any leaks or loose connections.
- Tighten or replace any damaged hoses to prevent leaks.
Step 3: Clear Clogs in the Drain
- Check for blockage in the drain filter or drain hose. Remove any visible debris or buildup.
- Run a cycle with vinegar or a dishwasher cleaner to eliminate any remaining residues.
Step 4: Test for Leaks
- Run a short cycle with the dishwasher empty to test for leaks.
- Observe closely during operation, paying attention to the door and connections.
C. Fixing Washing Machine Leaks
Step 1: Locate the Source
- Check beneath the washing machine for water puddles to help identify the leak source.
- Inspect hoses and connections for any visible signs of leaks.
Step 2: Examine Hoses
- Inspect electrical and water hoses for cracks, bulges, or loose connections.
- Replace damaged hoses and ensure that they are securely attached.
Step 3: Check the Seal
- Inspect the door seal or drum gasket on front-load washers for any wear or damage.
- If the seal is compromised, replace it to prevent leaks during cycles.
Step 4: Balance the Load
- Ensure that loads are balanced within the drum. Overloading can lead to spillage during cycles.
- If necessary, redistribute the laundry to improve balance and reduce the risk of leaks.
Step 5: Conduct a Test
- Run a short cycle on the washing machine and check for leaks during and after the cycle.
- If the problem persists, further inspection may be needed from a technician.
D. Fixing Hot Water Heater Leaks
Step 1: Identify Leak Location
- Check the area around the hot water heater for water pooling or dampness.
- Look at the top connection points, tank, and bottom drain valve.
Step 2: Tighten Connections
- Inspect the inlet and outlet pipes connected to the heater. Tighten loose connections with a wrench.
- Replace worn-out washers or fittings as needed.
Step 3: Assess Tank Condition
- Check for signs of tank corrosion or rust. If you notice pooling water around the tank’s base, it may be time to replace it.
- Look for leaks around the pressure relief valve, which may require replacement if defective.
Step 4: Turn Off the Heater
- If you continue to see leaks, turn off the heater and shut off the water supply to prevent further damage.
- Call a professional if the issue persists after checking connections and valves.
Preventive Maintenance Tips
Once you have dealt with leaks, taking proactive steps can help prevent future occurrences. Here are practical maintenance tips to consider:
Routine Inspection
Conduct Regular Checks: Periodically inspect appliances for signs of leaks or water accumulation. Check hoses, seals, and connections for wear.
Monitor Water Supply Lines: If appliances use water supply lines, visually check these lines frequently for wear and tear.
Keep Appliances Clean
Regular Cleaning: Keep your appliances clean to prevent blockages and buildup that could lead to leaks. For kitchens, regularly wipe down areas around dishwashers, refrigerators, and sinks.
Clear Clogs: Maintain cleanliness in drain systems to prevent water backup, especially in dishwashers and washing machines.
Maintain Proper Usage
Follow Manufacturer Guidelines: Use appliances according to user manuals and device specifications. Overloading machines can lead to issues.
Proper Load Organization: When using washing machines or dryers, ensure loads are distributed evenly for optimal operation.
Monitor Water Quality
- Check for Water Quality Issues: Hard water can lead to scale buildup in appliances, while excessive sediment can damage internal components. Consider using filters or water softeners if necessary.
Schedule Professional Maintenance
Annual Inspections: Schedule yearly check-ups for major appliances, such as water heaters, to detect potential issues before they develop into serious problems.
Consult Professionals: For any major concerns or repairs beyond your expertise, consult professional technicians for further assessment.
Conclusion
Dealing with leaks in appliances can be a daunting task, but understanding the steps to identify, fix, and prevent such issues is crucial for every homeowner. By following the steps outlined in this guide, you will be well-equipped to maintain your appliances and keep your home safe and functional.
Whether your leaks originate from a refrigerator, dishwasher, washing machine, or water heater, addressing them promptly will help you avoid costly repairs and damage in the long run. Additionally, implementing preventive maintenance strategies ensures that your appliances continue to operate efficiently and effectively.
As a responsible resident, staying vigilant and proactive about appliance maintenance will significantly enhance your home environment and contribute to a more enjoyable living experience. By incorporating these practices into your routine, you can mitigate the impact of leaks and keep your appliances running smoothly for years to come.